WILDLIFE PHOTOGRAPHY FUNDAMENTALS
By Ken Lee
Updated: April 2026
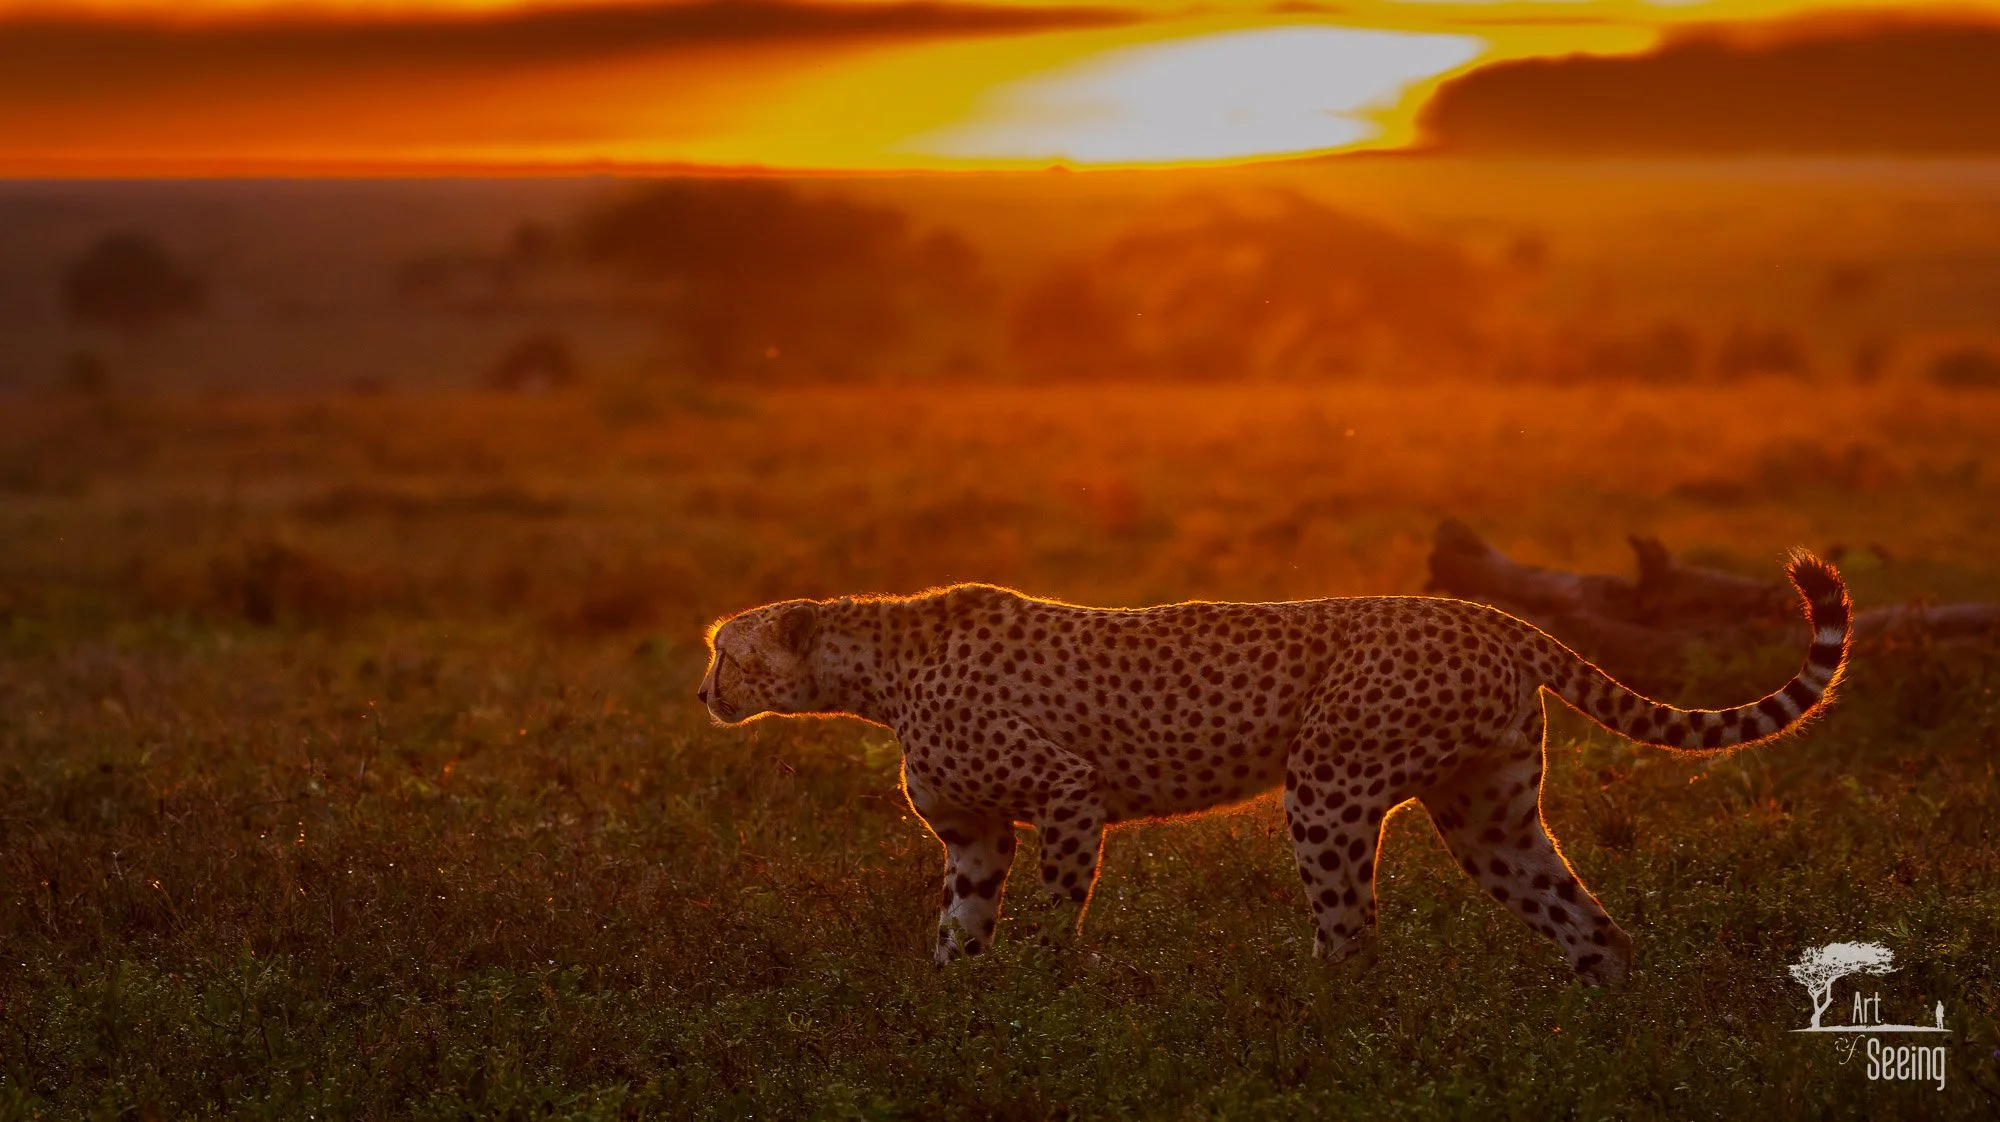
Heavyweights
I wrote this guide for participants of our Wild Mustangs of the Adobe Valley workshop but it applies equally whether you’re photographing wild horses, lions, bears, birds or any other species. This article is really aimed at the more novice shooters, but it might be a good refresher some for some of you old pros too. I hope you find it useful.
One Bite at a Time
TAMING THE BEAST - EFFF This!
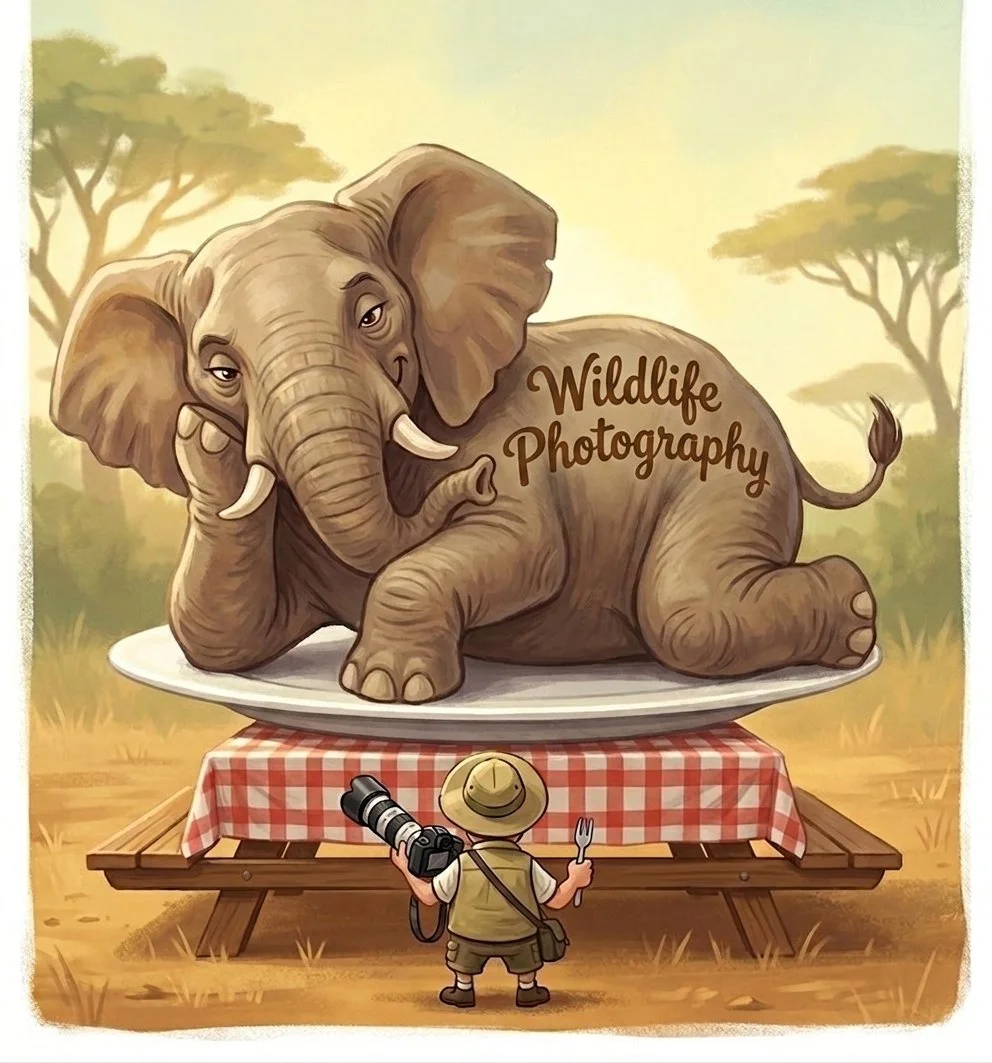
Wildlife photography is a huge topic with many facets; gear, technique, composition, understanding animal behavior to name just a few. Mastering this subject takes years of practice and dedication. But, as the saying goes, the only way to eat an elephant is one bite at a time. With that in mind, below is my simplified paradigm for the Fundamentals of Wildlife Photography.
It’s a 4-step process: Expose,Focus, Frame, Fire! (EFFF) – a mental checklist that’s evolved into an subconscious process. Perhaps you’ll find it a useful framework too.
Lastly, there are many nuances, exceptions and special cases to photographing wildlife that we won’t explore here, but remember, one bite at a time.
EXPOSE - SET YOUR SETTINGS
Manual + Auto ISO - the Best Choice?
Blasphemy, Sacrilege, of the Devil! – sums up my reaction to the Auto ISO feature when it first appeared. The idea that we would let the camera willy-nilly choose such an important setting, especially in combination with Shutter Priority or god forbid, Manual mode, felt like giving up too much control. Nothing good could come of this.
My views have…evolved. Modern cameras’ high-ISO capabilities are so good now, Auto ISO is not only a viable option, it’s often the difference between getting or missing a shot. I now recommend Manual mode with Auto ISO as the right choice for most people and most situations. This setting gives you direct control over the two factors that most affect the appearance of an image (shutter speed and aperture) while letting the camera set ISO to achieve correct brightness (exposure). Juggling two balls is much easier than three, after all.
Just to be clear, shooting in Manual Mode (with or without Auto ISO) does NOT inherently make your pictures come out better. I certainly don’t subscribe to the ignorant notion that “real photographers shoot in Manual.” We’ve just found Manual with Auto ISO is the best compromise for most people between having control over the most important parameters and mass confusion/pretzel logic when the action heats up.
Just one more thing: Be sure to check your images from time to time and use Exposure Compensation (+/–) to override the camera if you think your pictures are coming out too dark or too light.
We’ll explore the finer points of exposure further in the workshop, but mastering exposure really comes down to just a few things:
Understanding the effects that your settings (aperture, shutter speed & ISO) have on the photo your are making
Understanding how your camera “thinks” about exposure which lets you decide when to trust the camera and when you need to take over to make the picture come out the way you want.
Understanding that the ‘secret’ to great photos is rarely in the settings. Exposure is mostly about getting the brightness right – that’s it. The important thing is what you put in the frame.
What about Shutter Priority or Automatic/Program Mode?
If the thought of switching to Manual mode feels like a bridge too far, there are options.
Auto Mode
This setting lets the camera take care of all the exposure settings and frees you to focus your attention on other aspects of photography like light, composition, your position and the animals’ behavior, which usually contribute much more to making a strong image than f-stops and shutter speeds.
Shutter Priority Mode (with Auto ISO)
Labeled “S” (Sony/Nikon) or Tv(Canon) on your mode dial, this limits your decision making to a single parameter, arguably the most important one for wildlife photography. You choose the shutter speed and the camera does the rest. Basically, you’re telling the camera, ”do what you want with the other settings, but don’t touch my shutter speed.”
Both Auto and Shutter Priority are viable options for the less technically inclined or those just starting out. Your camera will get things right most of the time. There will be times the camera doesn’t make the optimal choice, but that’s much better than missing the shot completely!
Full Manual Mode
Going full Manual (no Auto ISO) means you’re taking over…everything. If you have good reason to think that the camera won’t get the exposure right or you are going for a special effect, that’s when it’s time to shift into full Manual (no Auto ISO) mode.
Why would a camera get exposure wrong? Because, as sophisticated as today’s cameras are, they are all incredibly stupid in some ways too. None of them have a clue what you’re pointing them at (although AI may soon change this)! For example, the correct exposure settings (shutter, f-stop, ISO) for a black horse and a white horse standing in the same light are exactly the same. But a camera doesn’t know whether you’re pointing it at a horse or a house, so it “thinks” it got darker when the black horse is in the frame and brighter when the white horse is in the frame. It will give you two different exposure settings for the two horses - which is wrong. All cameras are built with the assumption that the scene in the frame is ‘average’ (i.e. mid-tone, 18% grey), which works great for most scenes but there are plenty of exceptions. White horses, black horses, snow scenes - basically anything that is very light or dark in tone will ‘fool’ a camera’s metering (i.e. exposure settings) system.
Other times, you may want to create a high-key (very light) or low-key (very dark) photograph. ‘Correct’ exposure isn’t objective; it’s the brightness that matches your intent or vision, but a camera will always try to deliver a mid-tone image.
Manual mode takes the camera’s “brains” out of the equation, but it means your brain has to take over. Try to anticipate how your camera will see the scene and decide whether you can trust it’s judgement or you need to override it.
The biggest danger of Manual mode is forgetting to change settings when the lighting conditions change. It’s easy to shoot dozens or hundreds of frames before you realize that every photo you’ve taken in the last hour or two is way too bright or dark. With great power comes great responsibility, or something like that. You should always be looking at your images as you shoot, but this is even more important when shooting in Manual mode.
Too bad that "Exposure" doesn't start with an "F" — it ruins the alliteration, but alas it's a necessary first step. Exposure (a.k.a. your camera settings) is a confusing topic when you're starting out in photography — all those f-stops, shutter speeds and ISO’s. But, fundamentally, exposure simply refers to the brightness of a photograph. Therefore, correct exposure, means making a picture with the right brightness. There are entire books written about this topic and we won’t dive into the every detail here all of the details here – for that I recommend asking an AI chatbot like Chat GPT to explain the Exposure Triangle and asking it questions about anything that isn't crystal clear.What I want to focus on here is the Exposure Mode I think is most useful for wildlife photography:
**The Mirrorless Advantage**
I try hard not to be a gear pusher, but this has to be said: Mirrorless cameras are game changers when it comes to wildlife photography.
The advantages of mirrorless technology are many, but here are the 3 that I think have the most impact for wildlife photographers.
Animal Eye Focus (Eye AF) - the ability to automatically find, focus on and track your subject’s eyes within the frame can dramatically boost your keeper rate by reducing auto focus images. Unfortunately, the effectiveness of this feature is directly proportional to the cost of your camera model. In other words, Eye Focus works better on high-end (a.k.a. expensive) models than mid range and entry-level cameras.
WYSIWYG Exposure - when you put your eye to the viewfinder on a mirrorless camera, you see the world as the camera sees it. Change your exposure settings and the picture becomes brighter or darker. If your settings are off, you’ll see it when you put your eye to the camera. With a dSLR camera, you always see the scene as your eye sees it (i.e. ‘correct’ brightness) regardless of your camera’s settings, so if you’re not reviewing your images, it’s easy to shoot a bunch of over or under exposed images without realizing it.
Focus Area - even high-end DSLR's only offer focus points clustered around the center of the frame. All mirrorless cameras have focus points covering pretty much the entire frame which increases framing flexibility andbasically eliminates the focus-recompose DSLR dance for off center subjects.
But before you reach for your wallet and become the latest victim of the photographer's disease, G.A.S. (Gear Acquisition Syndorome), keep a couple of things in mind.
- All those amazing images that made you fall in love with photography in the first place were made with 'old' technology – dSLR's or God forbid, film - cameras.
- It's what you point the camera at that really counts. If there's nothing interesting in the frame, all mirrorless technology will get you are well exposed, perfectly focused boring pictures
FOCUS
Back button autofocus– if you're not already using this feature, I highly recommend it. I was slow on the uptake myself but once I actually tried it, I was kicking myself for waiting so long. At this point, my advice to everyone is: Just Do It!….it’s simply a better way of working, and the only downside is the initial learning curve.
What is it – normally (the default setting) when you half press the shutter button on your camera, two things happen:
Autofocus – is activated, and the image comes into focus
Light Metering – the camera measures the amount of light coming into the lens and, if you are using any of the automatic exposure modes, selects the correct settings (shutter speed, f-stop and ISO)
Back button autofocus separates the focusing and light metering functions that normally happen simultaneously.
if your camera has a dedicated AF-On button on the back, you’re good to go With other cameras you may have to assign autofocus to one of your buttons using the custom functions options of your camera.
Next you need to disable the autofocus function from the shutter button. Google “your camera model” + back button focus for specific instructions for your camera.
Once you’ve set it up, half-pressing the shutter button only activates light metering, but not focus. In order to activate autofocusing, you have to press (usually with your thumb) the AF-on or the custom button that you assigned.
Why do I want it- it might seem like we’re just making things more complicated, but there are two big benefits of separating the light metering and autofocus functions which are well worth the price of having to retrain your fingers:

Sometimes the subject ‘wants’ to be off center
Now, I know you can move the location of the active focus point with your camera's joystick but this takes time and often a focus point may not exist in the part of the frame where you want your subject to be (much less of an issue with mirrorless cameras). Back button focusing is a time saver, but if this were the only advantage of this technique, I might not be sold.
Combining one-shot and continuous autofocus modes – this is the big benefit of converting to back button autofocus in my opinion. Normally, you have to choose between one-shot or continuous focus modes. One-shot lets you lock focus on a stationary object by placing the active focus point in your viewfinder over the object you want to be in focus — the eye of a mustang for instance — by pressing the shutter halfway. But if the subject starts moving, you would want to switch to continuous autofocus mode which continually changes the focus to keep the subject sharp as it moves closer or further from the camera. The problem is that switching autofocus modes involves taking your eye away from the viewfinder and moving a physical switch on the lens or camera body.
Since wild animals rarely have the courtesy to warn you when they are about to move, this results in a lot of missed shots. With back button focusing, you press and release the focus button with your thumb for stationary subjects (i.e. one-shot autofocus) but if your subject starts moving, you press and hold the same button and autofocus will remain activated and constantly adjust to keep your subject in focus (i.e. continuous autofocus). Once you get used to it, this ability to instantly switch between one-shot and continuous autofocusing will definitely increase your keeper rate!
How do I set it up - the actual steps to enable back button autofocus are slightly different for each camera model. The great thing is that I can just about guarantee that someone has already created a written or video tutorial with step-by-step instructions for your camera. Just Google “back button focus your camera model” (e.g. “back button focus Canon 80D”) and follow the directions. Once enabled, you should never have to mess with it again.
FRAME
Buck fever is a hunting term that refers to the excitement that novice hunters feel when they first spot an animal, or anything that looks remotely like an animal —tree branches, or the side of a house, for example. The result is lots of shots fired but few that hit the target. Something similar happens to photographers when a majestic mustang (or lion or polar bear) appears in the viewfinder. We get so excited at seeing our target that we start firing frames without checking our focus, exposure settings and especially, composition.
My advice here is to remind yourself that the process is “expose, focus, frame, fire” After you’ve confirmed that your exposure and focus are dialed in, try to “zoom out” with your eye and see the entire frame. Breaking out of tunnel vision isn’t easy when the adrenaline is pumping, but you get better with practice. Composition, at it’s core, is mostly about ‘Seeing the the Forest, not the Trees.’
One technique that can help is to ask yourself some questions: Where is my subject in the frame? How big is my subject in the frame? What’s in the foreground/background? The answers are often surprising. For instance, when you 'zoom out' (with your eyes, not the lens), you’ll often discover that the subject is dead center in the frame, a lot smaller than you originally thought and there’s a lot of uninteresting foreground or background that isn’t doing anything for your overall image.
Simplified focus & recompose - as previously mentioned, the focus point on a DSLR camera are all clustered around the center of the frame which means that's where you have to place your subject, at least initially. Now, there’s nothing inherently wrong with having your subject in the center of the frame, but you certainly don’t always want your subject in the center. You should choose where the subject belongs in your frame, not the camera. If you want to recompose, you have to hold the shutter half pressed while you adjust your framing. Once you take the shot, the camera will want to focus on the active focus point again which is no longer where your subject is. To take another shot you have to repeat the steps of the focus recompose dance.
With back button focusing, you place your focus point on the subject, press and release the focus button with your thumb and then compose your shot. After you fire your first shot, the focus remains locked on your subject. You can keep shooting the same composition, fine-tune your composition or make drastic changes to your framing (e.g. horizontal to vertical) and the subject will remain in focus.

Stay cool when the action heats up
Once you’ve got a good handle on the basics, work on anticipating the action and pre-framing or pre-focusing your shots. Full-blown battles between stallions are usually preceded by the contestants pawing the ground in a head to head stance. A grazing herd will tend to move in one general direction over time. Learn to recognize these behaviors and you can set yourself up for success by moving slightly so that snow-capped peaks rather than brown scrub are behind the herd or by rotating your camera to vertical so that those battling brutes fill your frame nicely when they rear up on their hind legs. Composition is the difference between taking a picture of an animal and making a photograph that happens to contain your subject.
One exception to the above is when unexpected action suddenly breaks out, like the herd breaks into a gallop without warning or two stallions suddenly rear up and start battling. In these situations, just try to keep your focus point/box on the subject, hold down the focus button with your thumb and fire away. It’s just a fact that with wildlife photography, a lot of creativity and composition happens after the click (cropping & editing).
FIRE!
My advice here used to be set your camera to its highest frame rate and leave it there, but things have changed. Frame rates of modern cameras have gotten so fast, shooting too many shots has become a real issue. Now, I advise our workshop participants to fire off short bursts, even if the subject is standing still. Those 2 or 3 extra frames are insurance against blinking eyes (the subject’s) and shaking hands (yours). Often the second or third shot in a burst will be sharper than the first when your shutter speed isn't fast enough to completely cancel out blur due to camera movement. In high action situations, press and hold down the shutter and pray that ‘the decisive moment’ happens before your buffer fills up.
Don’t Panic
If most of what you’ve read so far sounds like a foreign language, don’t panic, but it’s probably a good idea to brush up on some fundamentals. If you can get a handle on the concept of Exposure (sometimes referred to as the Exposure Triangle); learn how to change between Exposure Modes (Auto/Program, Shutter Priority & Manual) and use Exposure Compensation (+/–) on your camera, it will go a long way towards making the most of your time in the field.
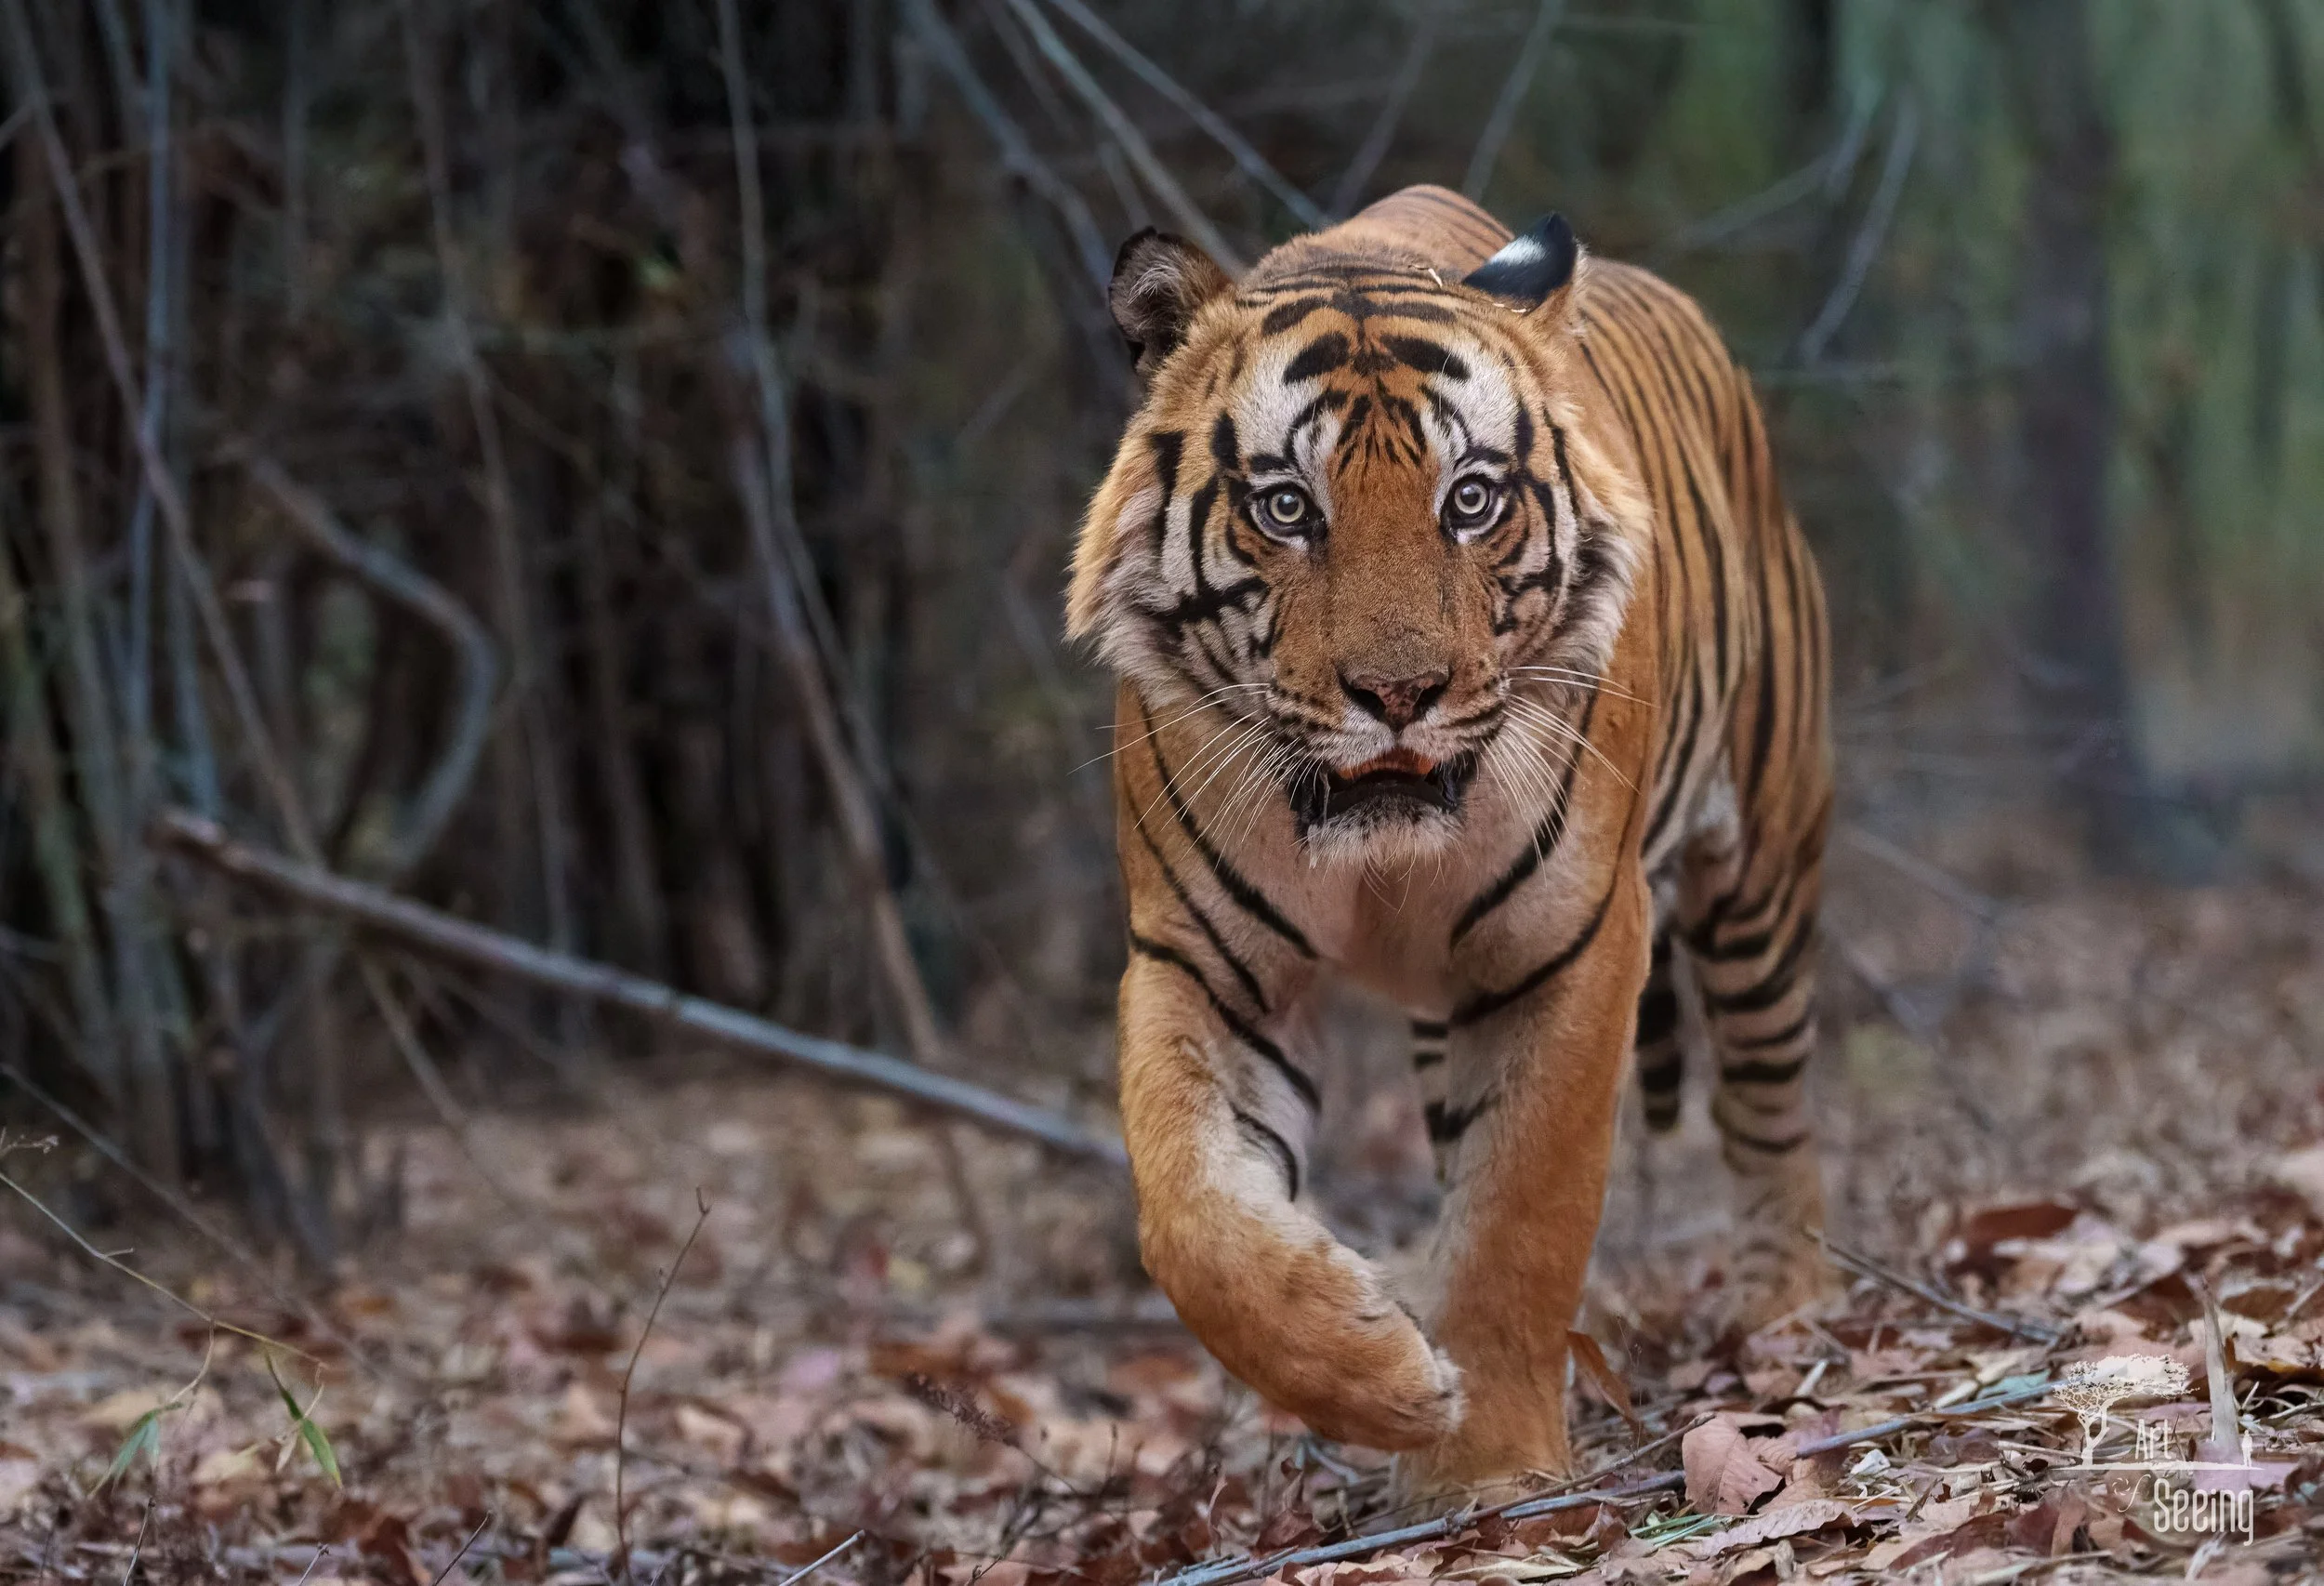
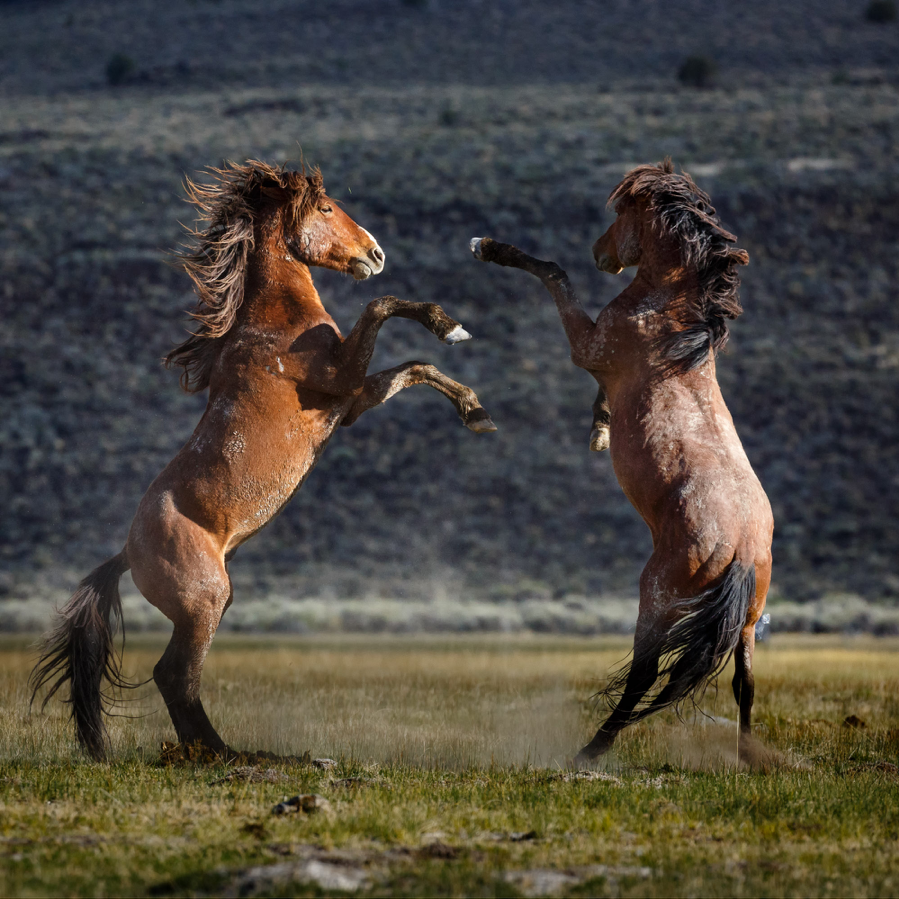
Show Me, Don’t Tell Me
Click any of the images below to see more of Ken’s wildlife images.